This short article talks about putting together a cost effective
impression for the Ordo Cervi. It is based on the German Landsknechts and the
Warhammer Empire troops and is not a historically accurate impression but
designed for a Live Action Role Play game.
This all came about while talking with other members of the
Ordo and the discussion of Pikes vs Spears and then Pike Blocks was mentioned
which led to Warhammer Fantasy Games Empire troops which led to uniforms which
led to landsknechts which led to this. Ugh...

I have this old book on the Empire troops and so I dug it
out and found this plate of the Stirland forces. It is the colors of the Ordo
and it just struck me as something we could do.
I am looking mostly at the fellow in the yellow jacket with
the sword and shield for inspiration. I then found a shirt and trousers on line
that would work to make this become reality.

(photo from Medieval Collectibles)

(photo from Epic Armory)
This has the basic look that I want. The colors are the same as the livery for the Ordo and the cost is reasonable. I think the set costs about $75.00 from Dark Knight Armory. To get the appearance that I want I do need to
adapt them a bit because I really want to look more like this:

The entire impression consists of a floppy hat or beret with feathers, a white shirt and worn over it a slashed short jacket. A pair of hose in this photo but just as common a part of slashed baggy trousers. Stockings and shoes complete the look.

Starting with the hat I purchased a flat renaissance hat
from Amazon for $14.00 in dark green. I also found on Amazon a stag head's kilt
pin and green and dark yellow feathers for a total price of about $25.00
Once I got them all together they look like this:

I think that's good enough, although I may back the pin in
red wool just to make it pop!
The next item to work on is the shirt. It is a good base to
start with and my concept is to recreate the 'jacket' of the swordsman in tan
cloth with yellow slashes as to follow the tan and green of the Ordo's
heraldry, add gathers to the right sleeve with yellow ribbon and to put in a
false shirt top in white linen.
This sounds like a lot of work but in reality it's not that
hard to do. I sketched out the concept before I started working:

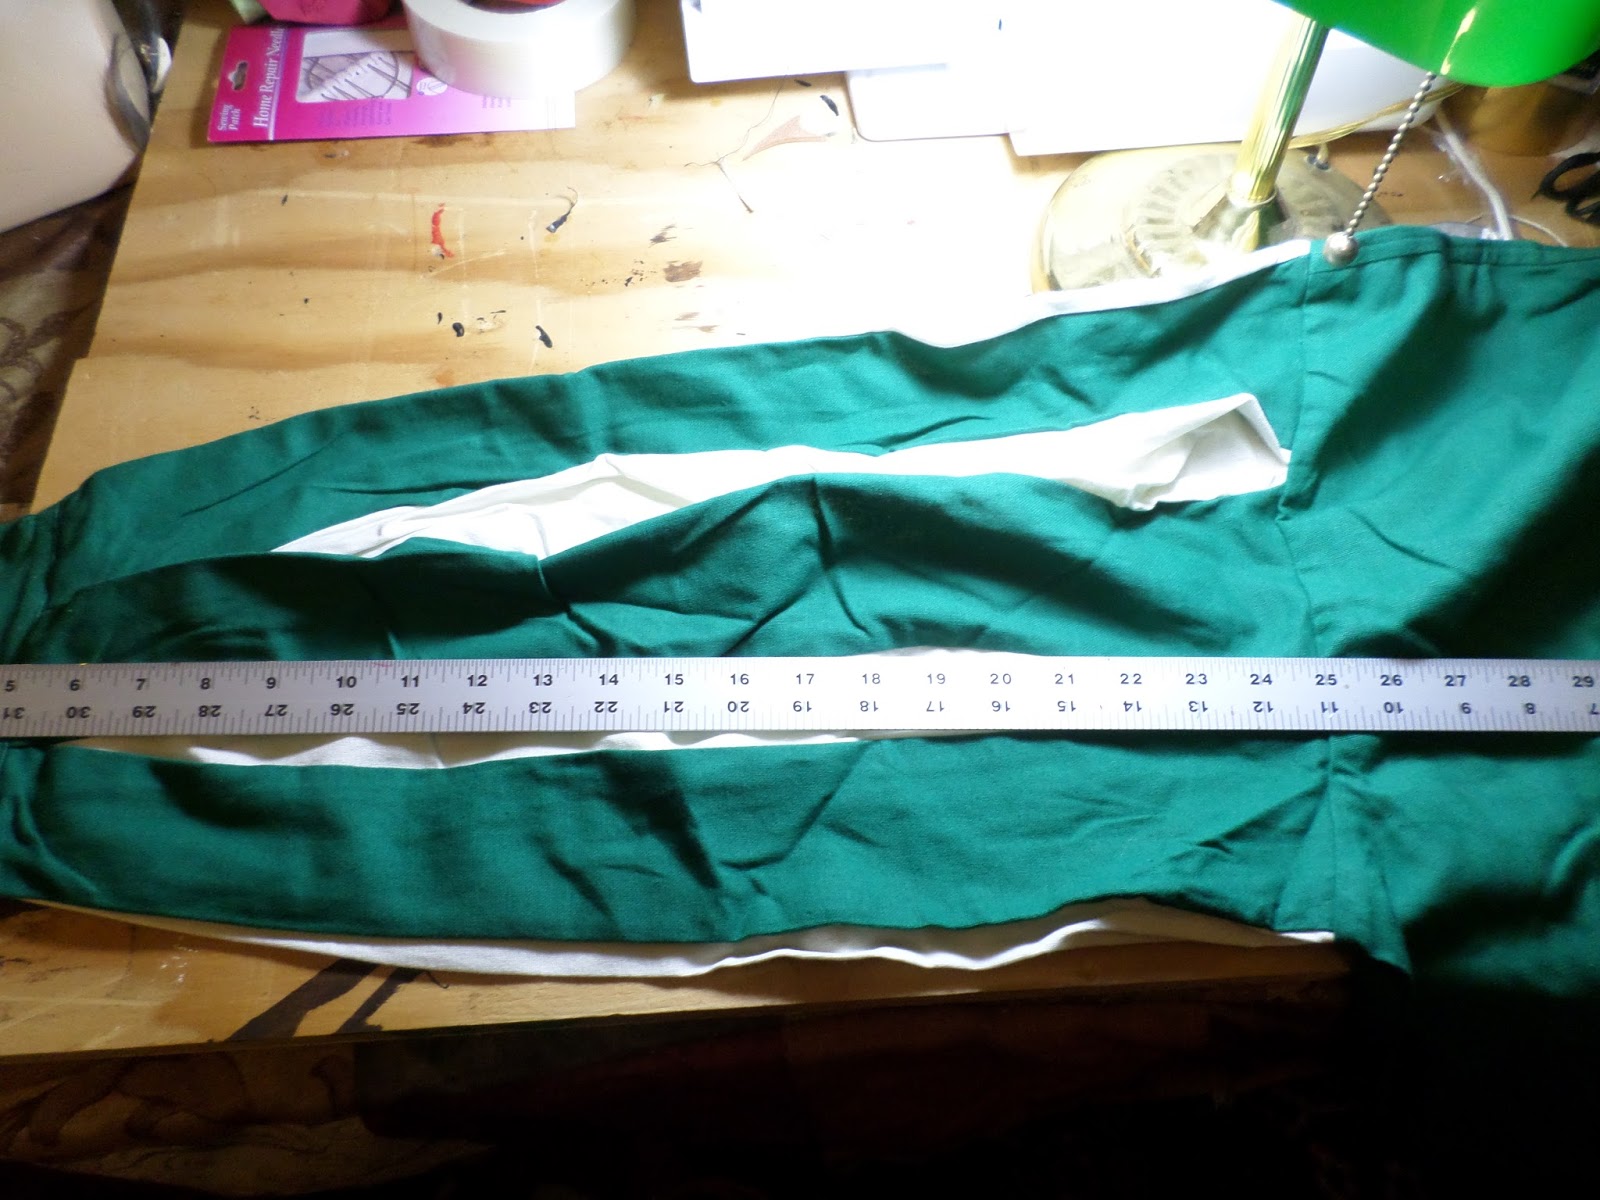
The first step was to mark the sleeves on the right arm in four inch sections. I then gathered the green sections together before sewing them.
Using green thread I gather the pieces at each four inch mark.

And continued all the away around the sleeve, sewing the six sections with four gathers each. Once the entire sleeve was done I tried it on to make sure my arm still fit in the sleeve. (Probably should have done that before!)

I found it bunches nicely and there is plenty of room in the sleeve for movement. The next step is the add the yellow ribbon at the gathers. I thought of a couple of ways to do this and chose to add a small piece of green tape that the yellow ribbon would slide through. After attaching it I found it just didn't look right. So now I am thinking about what to do.
Here is a quick photo of the yellow ribbon pinned in place.

I will continue this article next week with finishing up the arms and working on the jacket body.
I would love to hear your comments and suggestions during this build, please let me know what you think and if you have an idea to make the impression better I am open to your advice.
Thanks!
Thorwald
No comments:
Post a Comment